Showing posts with label Watercolour. Show all posts

Wednesday, July 20, 2022

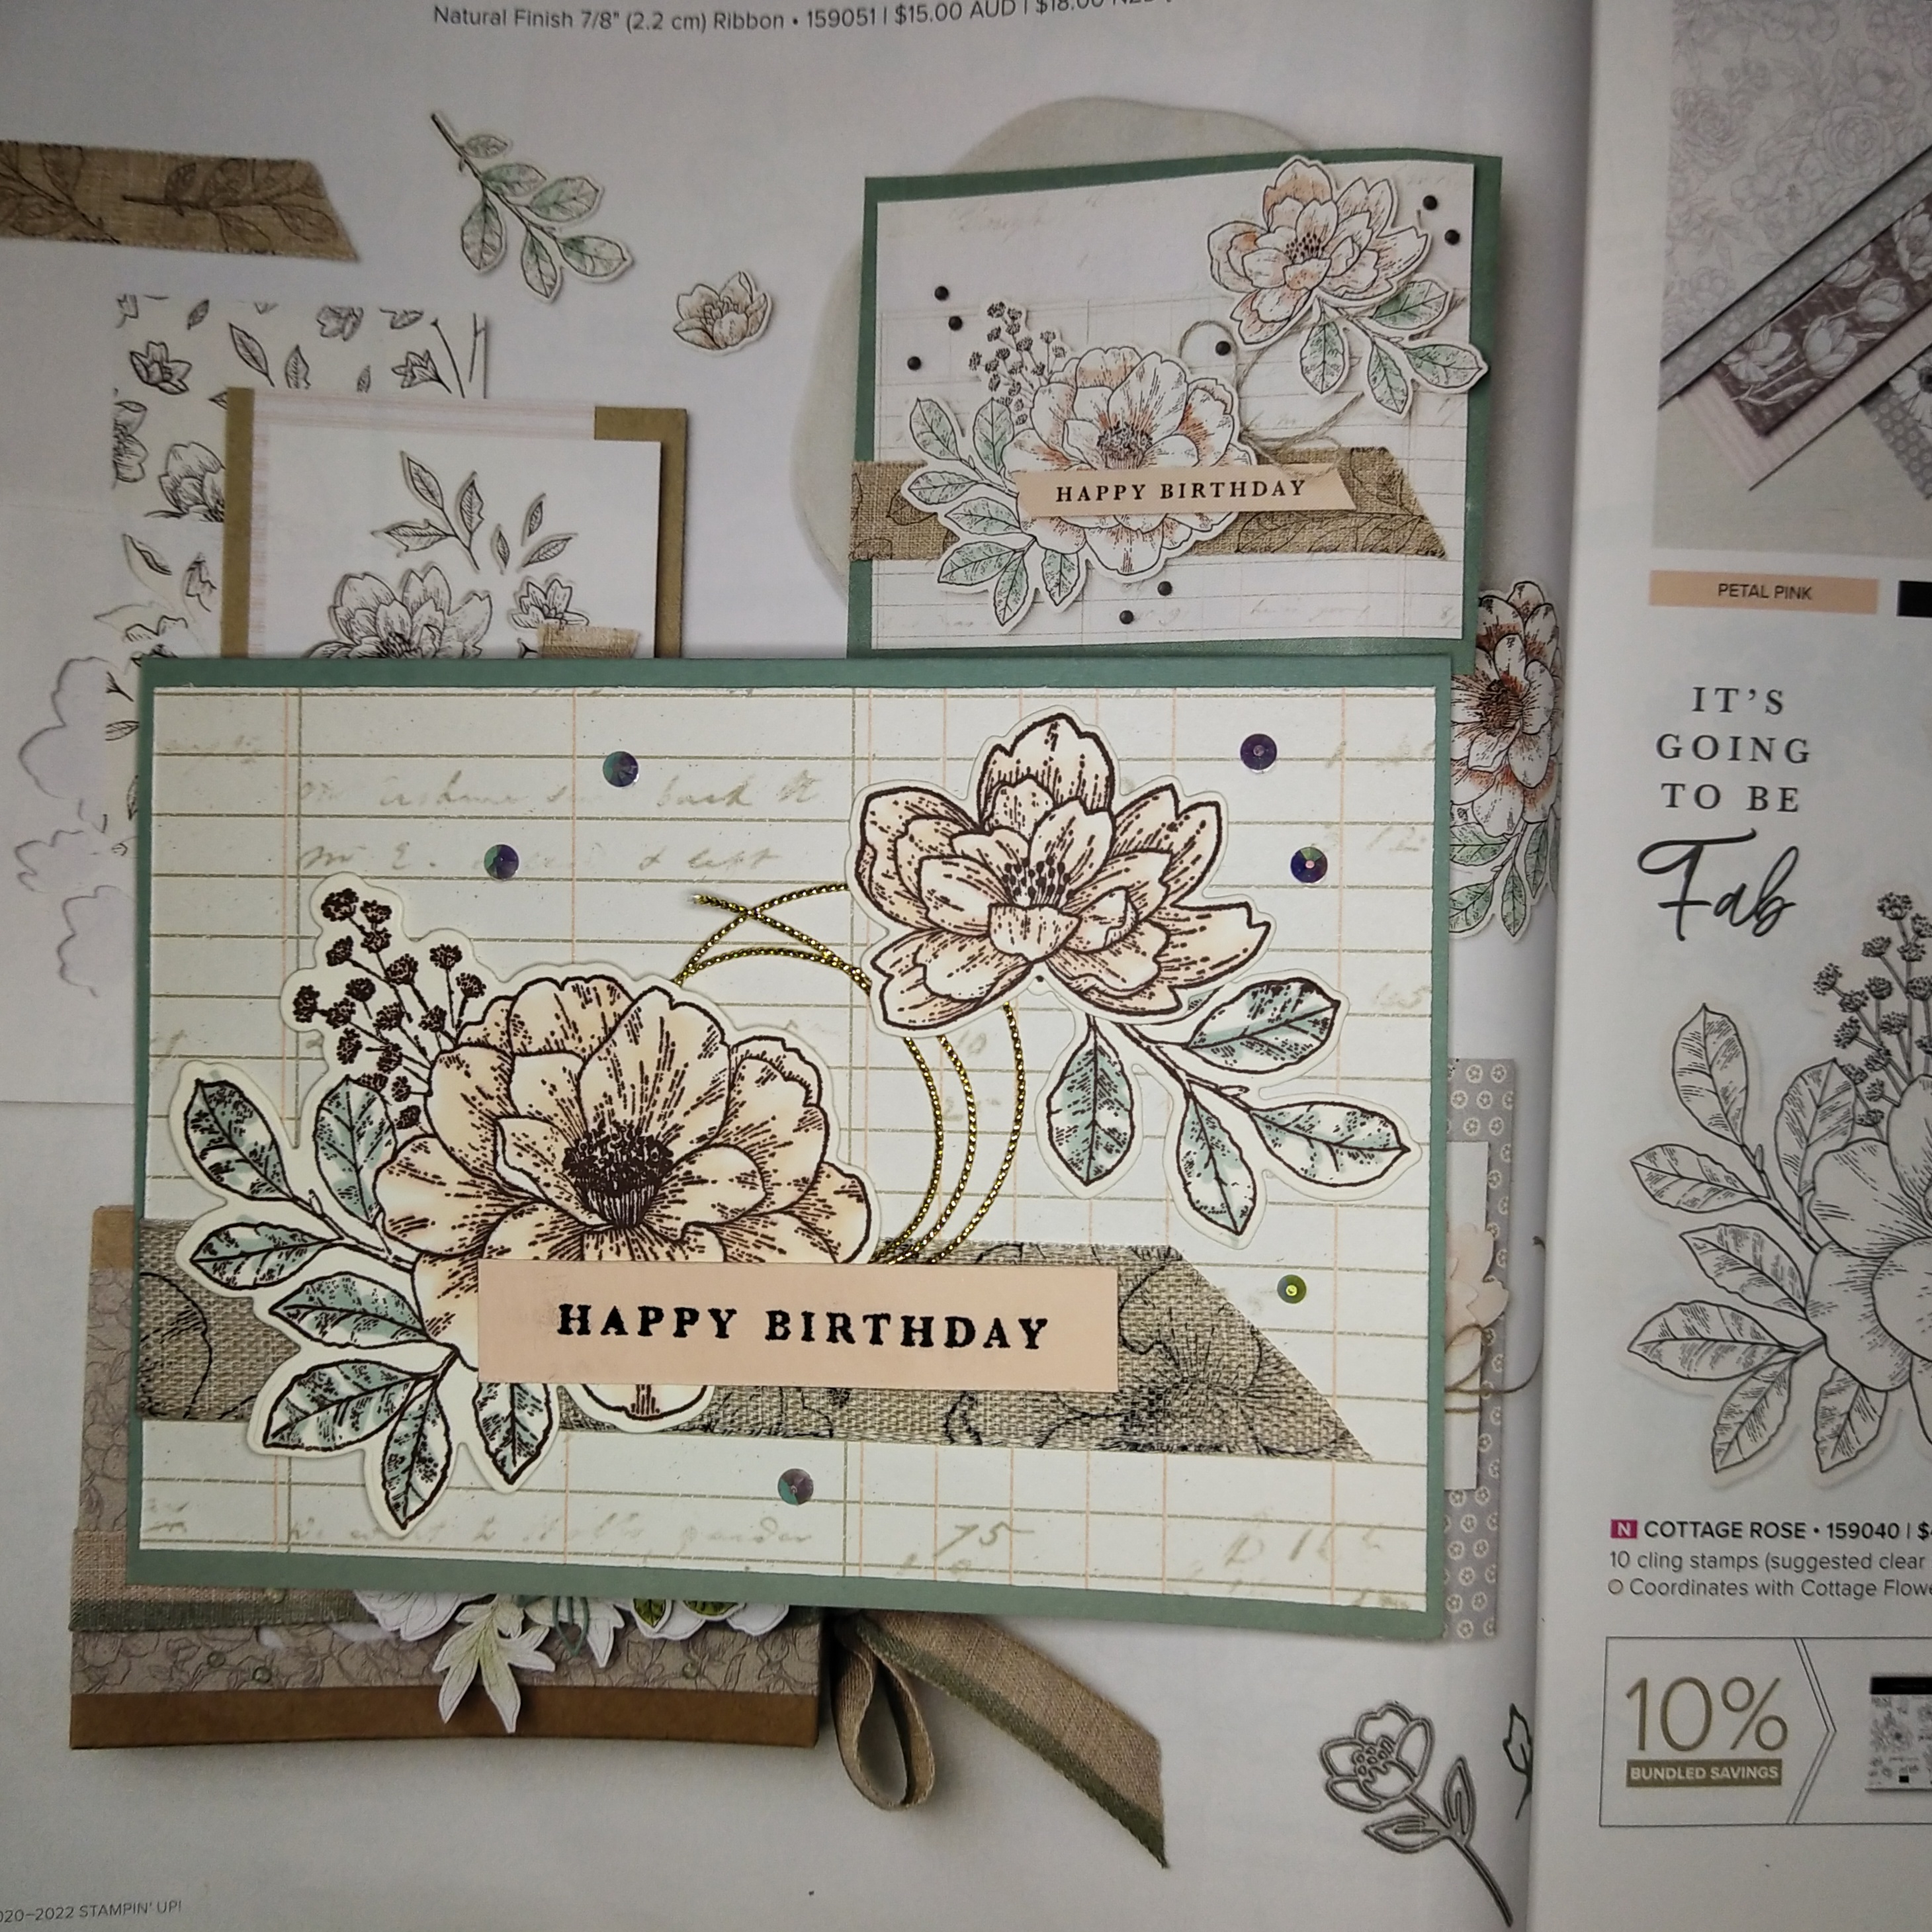
CASE the Stampin' Up! Catalogue, using Abigail Rose Suite

Good Morning Friends! 

 Are you ready to CASE the catty! What the heck is CASE the catty you say!  Well, my friend, let me explain. CASE is an acronym for Copy And Share Everything. Let's be honest nothing is really new in the world, so in our beautiful world of papercrafts, we are all very happy if you see a card or design you like and you CASE it. 

Please always give acknowledgement ie. mention the original designer where you found your inspiration. Also you may change the colours or the image may be a different choice but, if you have taken inspiration from a design of someone elses, please acknowledge them.

In the case of the cards I have made for this blog they are CASEd from the Stampin' Up! 2022 Annual Catalogue. You can find them on page 56 & 57. 

Abigail Rose Suit of products consists of 

  • Cottage Rose Bundle (Cottage Rose Stamp Set, Cottage Flowers Dies), 
  • Abigail Roase 12x12" or 30.5x30.5cm Designer series paper, 
  • Natural Finish 2.2cm Ribbon. 

They can all be purchased seperately from Stampin' Up! but if you purchase as the suite, you will save yourself 10% . Yes, we all prefer the discount, Right!

Product List

I love the Abigail Rose Suite. I am a flower girl, you probably worked that out by now. I am only going to mention the products I have used in addition to the suite in making all the cards on this post.
 
Product List
For the following card, the floral imaged layer is actually a piece of DSP from the suite. Over top of that is a piece of Basic White card stock trimmed to the appropriate size and then with the large image die placed where you want it on the Basic White card stock you will die cut the card. 
 
Now do not throw away the scrap pieces from the die cutting. You will use them to make the next card.
 
Next you will lay your die cut image over the DSP until you find the matching flower layout on the DSP. It will not be nearly so difficult as it sounds once you get started.
The ribbon I have frayed at each end.

 
Product List
So do you remember I told you to keep the spare left over pieces from the die cutting on the previous card? Now we will use them to make the flower on this card. It is just a matter of sponging or blending some small amount of colour onto them and adhering them to the card.


For this next card we are CASEing, I cut a piece of cardstock from the Smoky Slate to the same size as a card front. Now here in Australia our cards are a half an A4 sheet of cardstock with the fold half way down the long side which makes the card front when folded and closed A5 size (14.9x10.5cm). After I randomly stamped and then coloured the flower image onto the card front, I trimmed the card across the long side first to be 14.4x10cm. If you keep the strip from the long side you now have a lovely coordinating piece you can put inside your card to give it that finishing touch.


Inside the card.


 And the completed card.


Product List
The final card here is probably the most difficult and just has lots of layers. If you are an avid stamper who has been stamping for a few years now, give it a go, it is probably up your alley.

Product List

 Don't forget that Sale-A-Bration is on at the moment. For 2 months only 1 July - 31 August 2022. 

You can earn exclusive, FREE products by shopping, joining, or hosting.

To see the exclusive products you can earn this Sale-A-Bration season, browse our digital brochure. You can look at it online in the right hand column.


There is always the new Mini Catalogue to look through too. So much fun stuff. Especially if you love Christmas. You can see it online to browse through also, in the right hand column. If you have any questions please Message Me. 


Well, that's it for now. Have a great week and make some time for crafting. 

Caroline

If you live in Australia and are looking for a Stampin' Up! demonstrator to shop with or join under, I would love to help you and support you in your creative journey. 

SAVE 20% ON EVERY ORDER

Email Me at carolinenathanart@gmail.com. 

SHOP ONLINE: When you shop online with me using the Host Code & you will receive a FREE GIFT and a Handmade card.

CATALOGUES: Purchase One HERE. 

START YOUR OWN BUSINESS:. Ask Me for information or Join My Team Here.

Monday, June 6, 2022

Watercolour Background technique for Stamped Images on Homemade Cards

Good Morning Creative Friends,

I sat down last week and decided to join in on one of my favourite blog hop challenge's. I made my cards and selected my favourite of the 3 I made to enter into the challenge. I made these cards over a few days due to some health challenges in our home this week and sadly as I sit here writing my blog to enter the challenge I have realised that I missed the deadline. I am actually a bit disappointed I missed it but life happens doesn't it and we can't throw the baby out with the bath water. I have made the cards. They are beautiful, so I shall share them with you anyway.

Well, I shall show you my cards anyway. The colour combination is lovely.

We have Starry Sky and Sweet Sorbet from the 2022-24 In Colours and Petal Pink from the Subtles Range. I also accidentally used Orchid Oasis from the 2022-24 In Colours also. 

Watercolour Background

I chose to do a watercolour background using a 'Wet on Wet' technique. I was able to use the 1 piece I made to make all 3 cards. Here is the instructions to make them

  1. Onto a large clear block and dropped a drop of each colour (Orchid Oasis, Sweet Sorbet & Petal Pink) onto the block, keeping them separated.
  2. Take a Stampin' Spritzer filled with water & spritz some Fluid 100 watercolour paper throughly.
  3. Take a little of a colour from the clear block with a Water Painter and dab onto the water colour paper in a few random places. Now do the same with the other two colours. Watercolour always is lighter in colour once dried.
  4. Now you can set your background piece aside to dry or you can help it along a little with your heat gun.

Product List

Heat Tool
[129056]
$53.00

Card #1

 Card Base: Very Vanilla
Layer 1: Rose Gold Specialty Foil
Layer 2: Starry Sky
Ribbon: 3.2mm Metalic Woven Ribbon in Starry Sky
Layer 3: Rose Gold Specialty Foil
Layer 4: Water coloured Background with image in Starry Sky
Sentiment: White Pigment ink with white Stampin' Emboss Powder


Card Base: Starry Sky

Layer 1: Rose Gold Specialty Foil
Layer 2: Sweet Sorbet, stamped over with Sweet Sorbet Ink
Ribbon: 3.2mm Metallic Woven Ribbon in Starry Sky
Layer 3: Rose Gold Specialty Foil
Image and Sentiment stamped in Starry Sky Ink

Product List


I love this Stamp Set called 'In The Moment'. I am always attracted to realistic line drawings. I do not know why, but I am and if humans are in them, even better. What kinds of images do you tend to be attracted to when you get a new catalogue? 
This is the stamp set I have used for all three cards I made.

Card #3


Base Card: Starry Sky

Die Cut Image: Rose Gold Specialty Foil & Artistic Die Set. I cut the die cut flowers in half to separate them and extend the image under the Watercolour background.

Layer 1 & Sentiment: Very Vanilla Card Stock with Starry Sky Ink

Sentiment from Feels Like Home Stamp Set which is now retired. You can swap it out for something else on your shelf.

Product List

I have to say I was extremely pleased with my finished cards. They are vibrant yet elegant.
Well, What do you think? Do you like my cards or not? Which parts or card are your favourite? Leave a note for me in the comments below. 

Well, that's it for now. Have a great week and make some time for crafting. 

Caroline

If you live in Australia and are looking for a Stampin' Up! demonstrator to shop with or join under, I would love to help you and support you in your creative journey. 

SAVE 20% ON EVERY ORDER

Email Me at carolinenathanart@gmail.com. 

SHOP ONLINE: When you shop online with me using the Host Code & you will receive a FREE GIFT and a Handmade card.

CATALOGUES: Purchase One HERE. 

START YOUR OWN BUSINESS:. Ask Me for information or Join My Team Here.